LOCATION
1190 Forest Ave, Portland, ME 04103
OPEN HOURS
CLOSED: SATURDAY JULY 4TH & SUNDAY JULY 5TH
NORMAL HOURS: Fridays & Saturdays 10am - 5pm & Sundays 10am - 4pm
Our Menu: The Classics
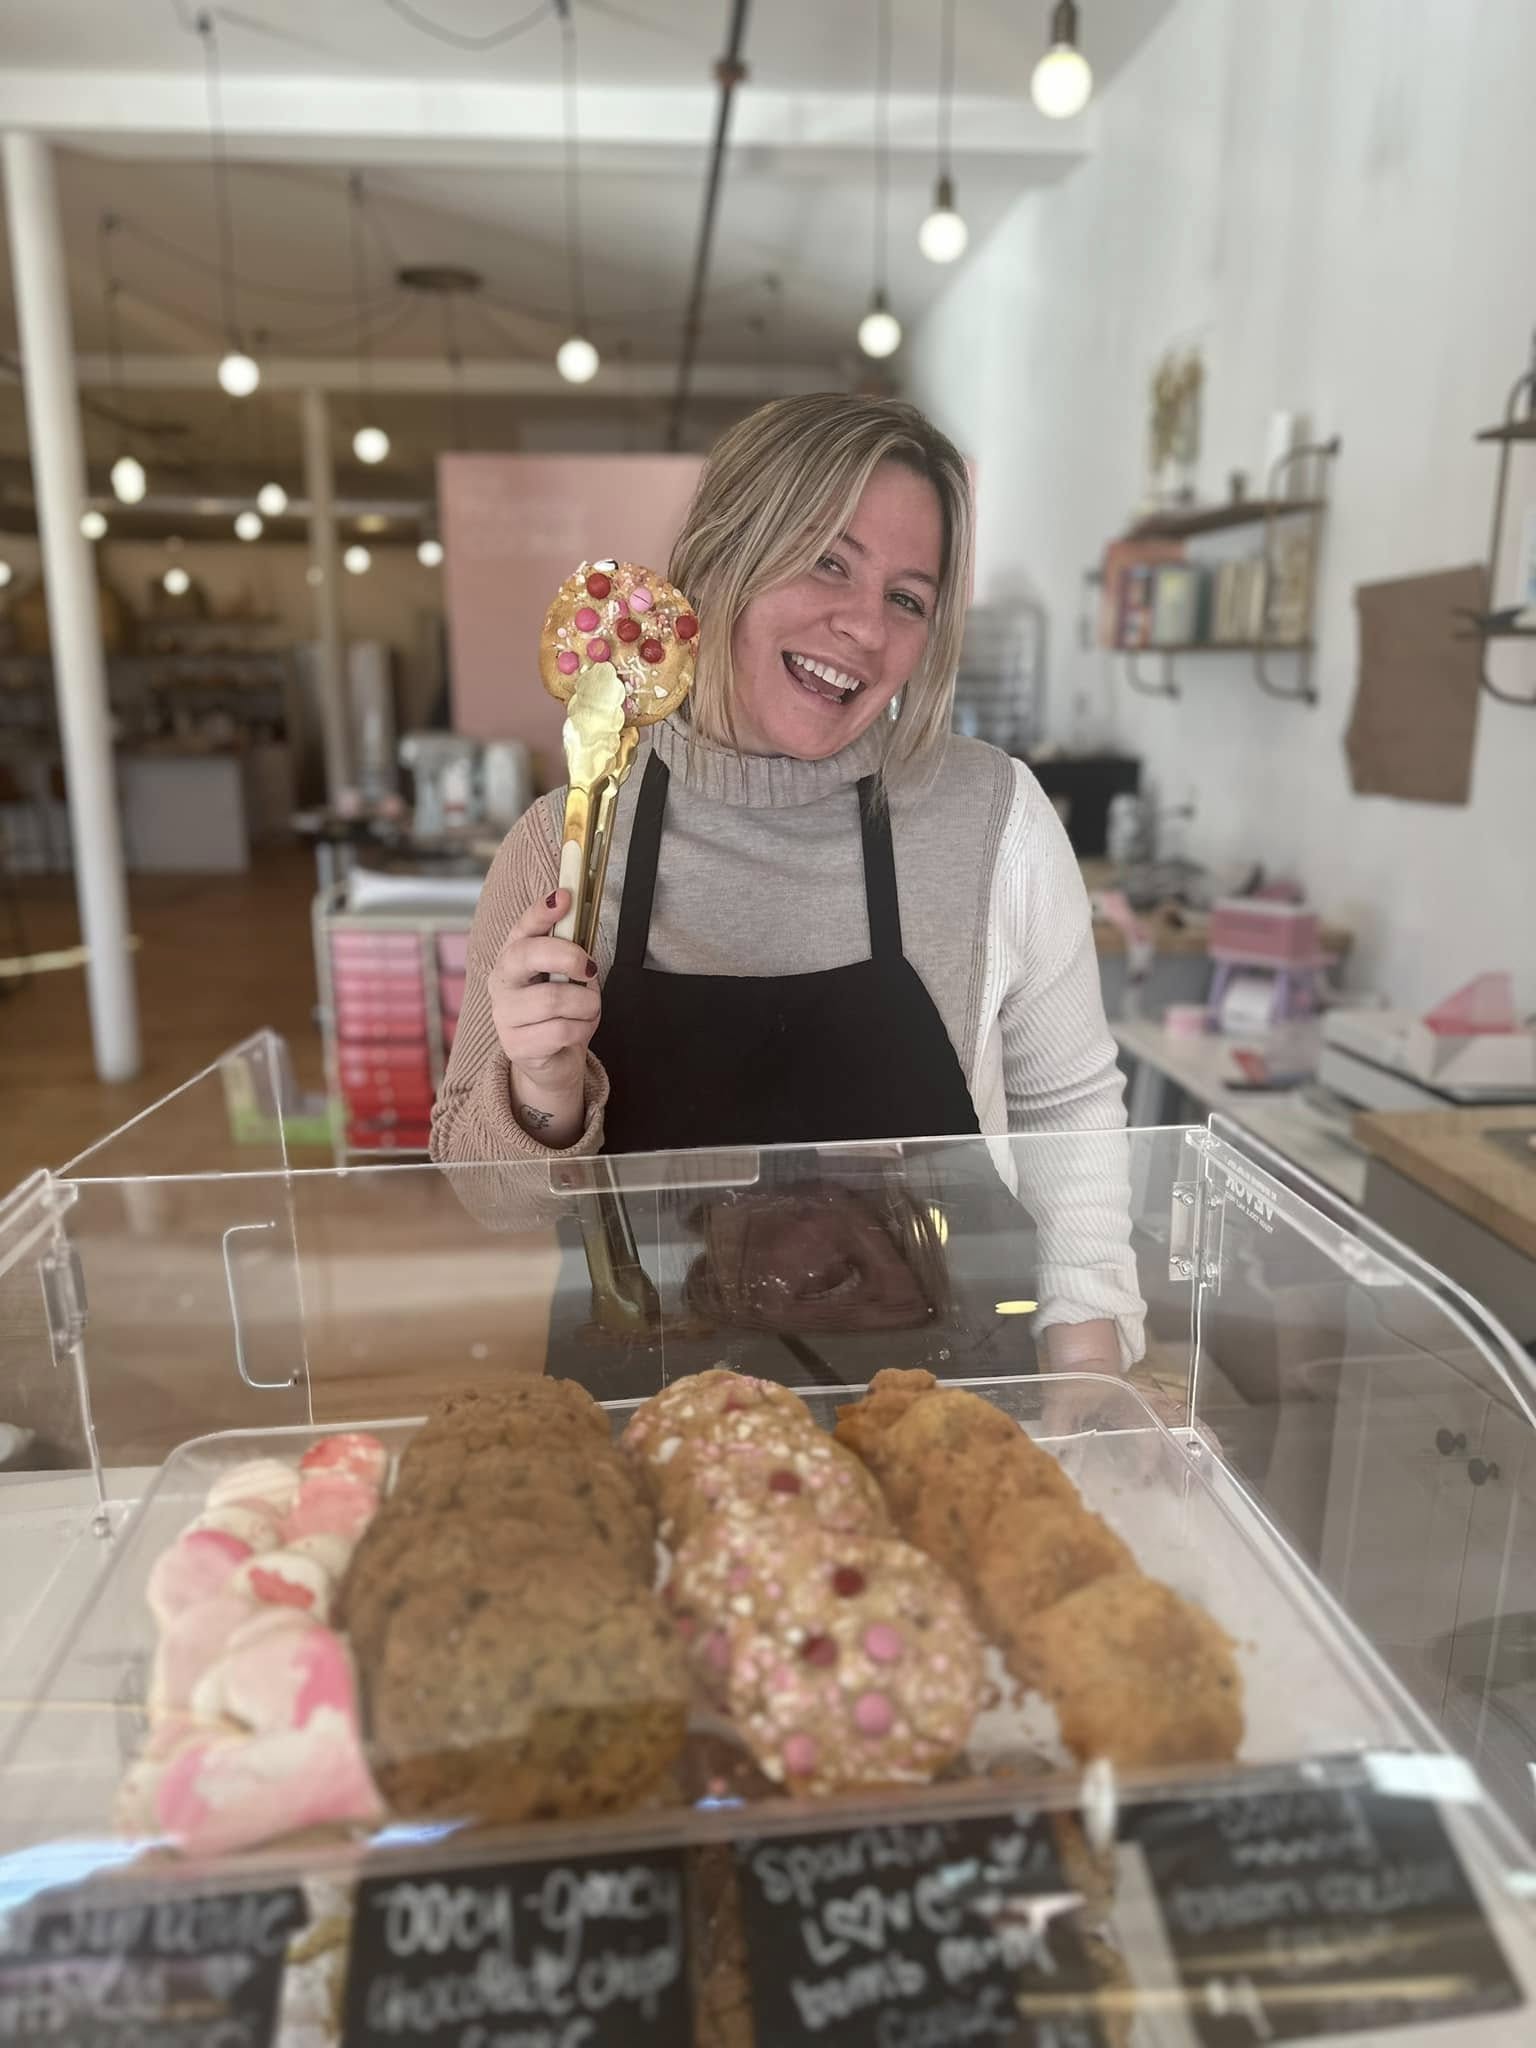
We pride ourselves on being able to greet you every day with familiar cookies! We have a set menu you'll find below, along with the occasional fun and potentially seasonal treat added to the case.
Most cookies are $4 each except for The Birthday Girl, who at a whopping 100g (that's 20g larger than our other beauties!) and made with gluten-free flour, is $5.50.
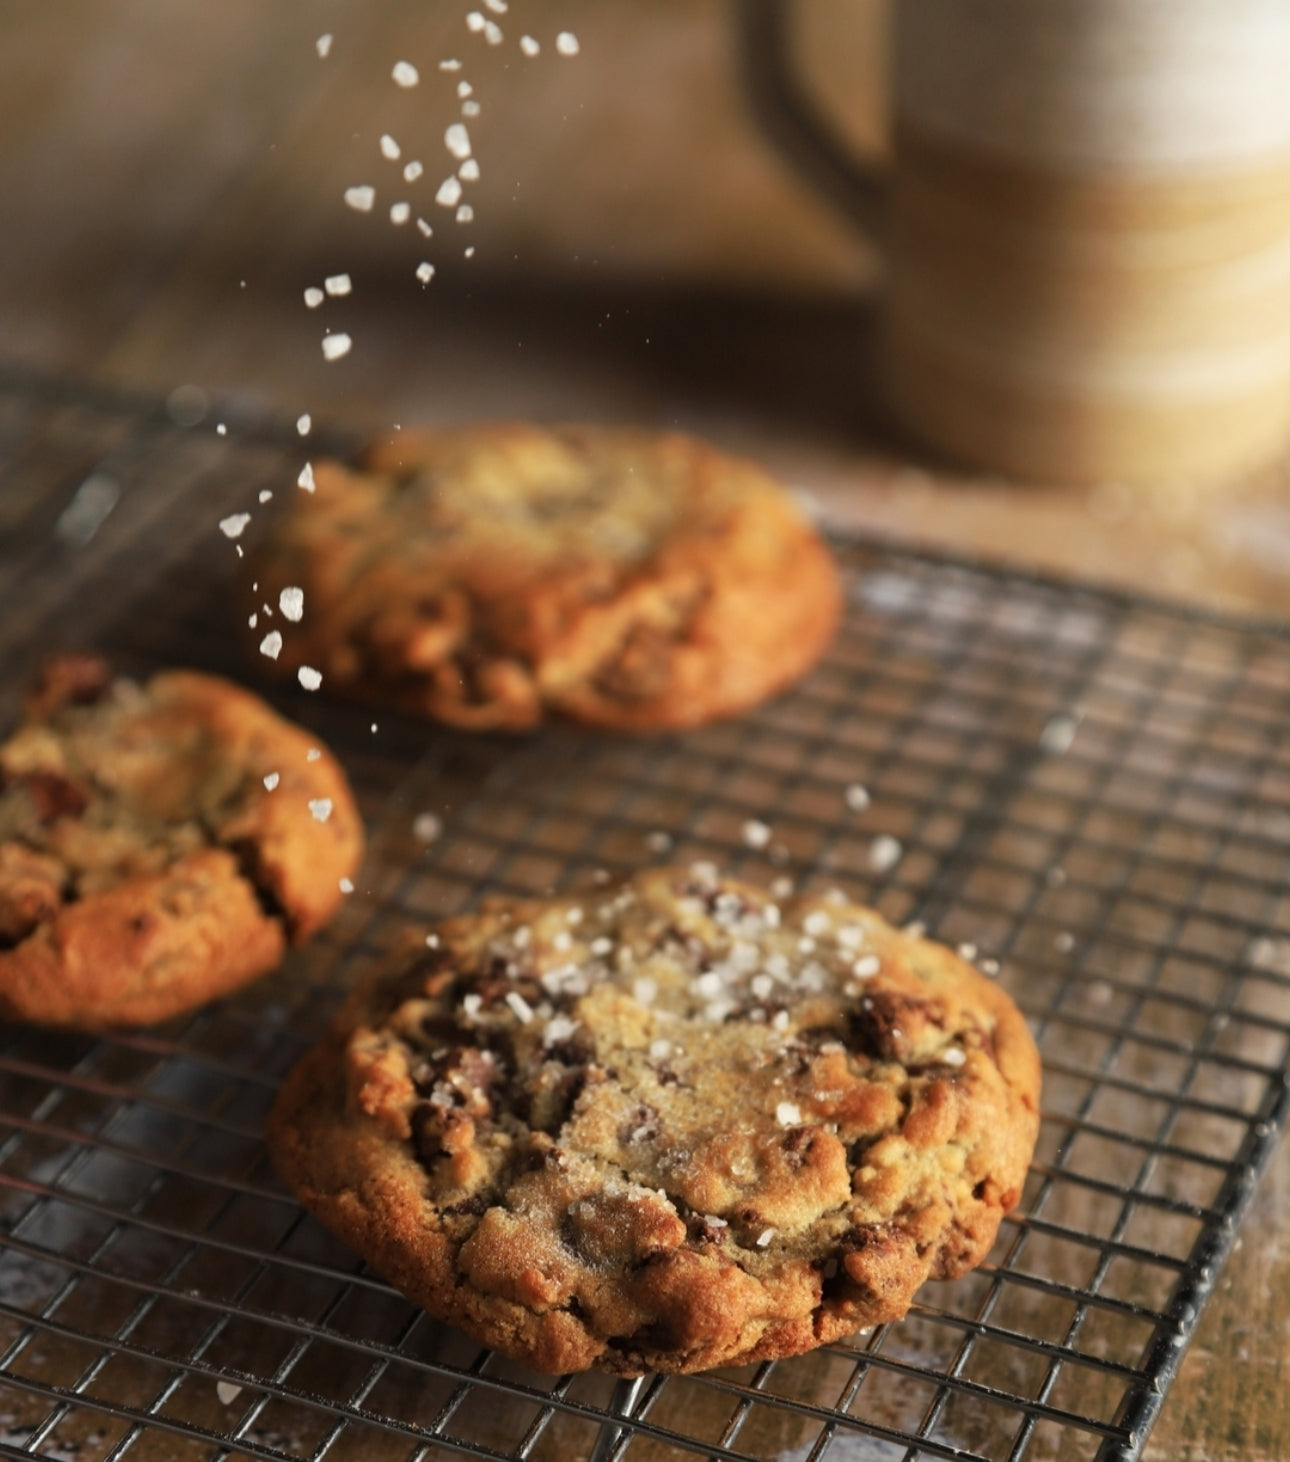
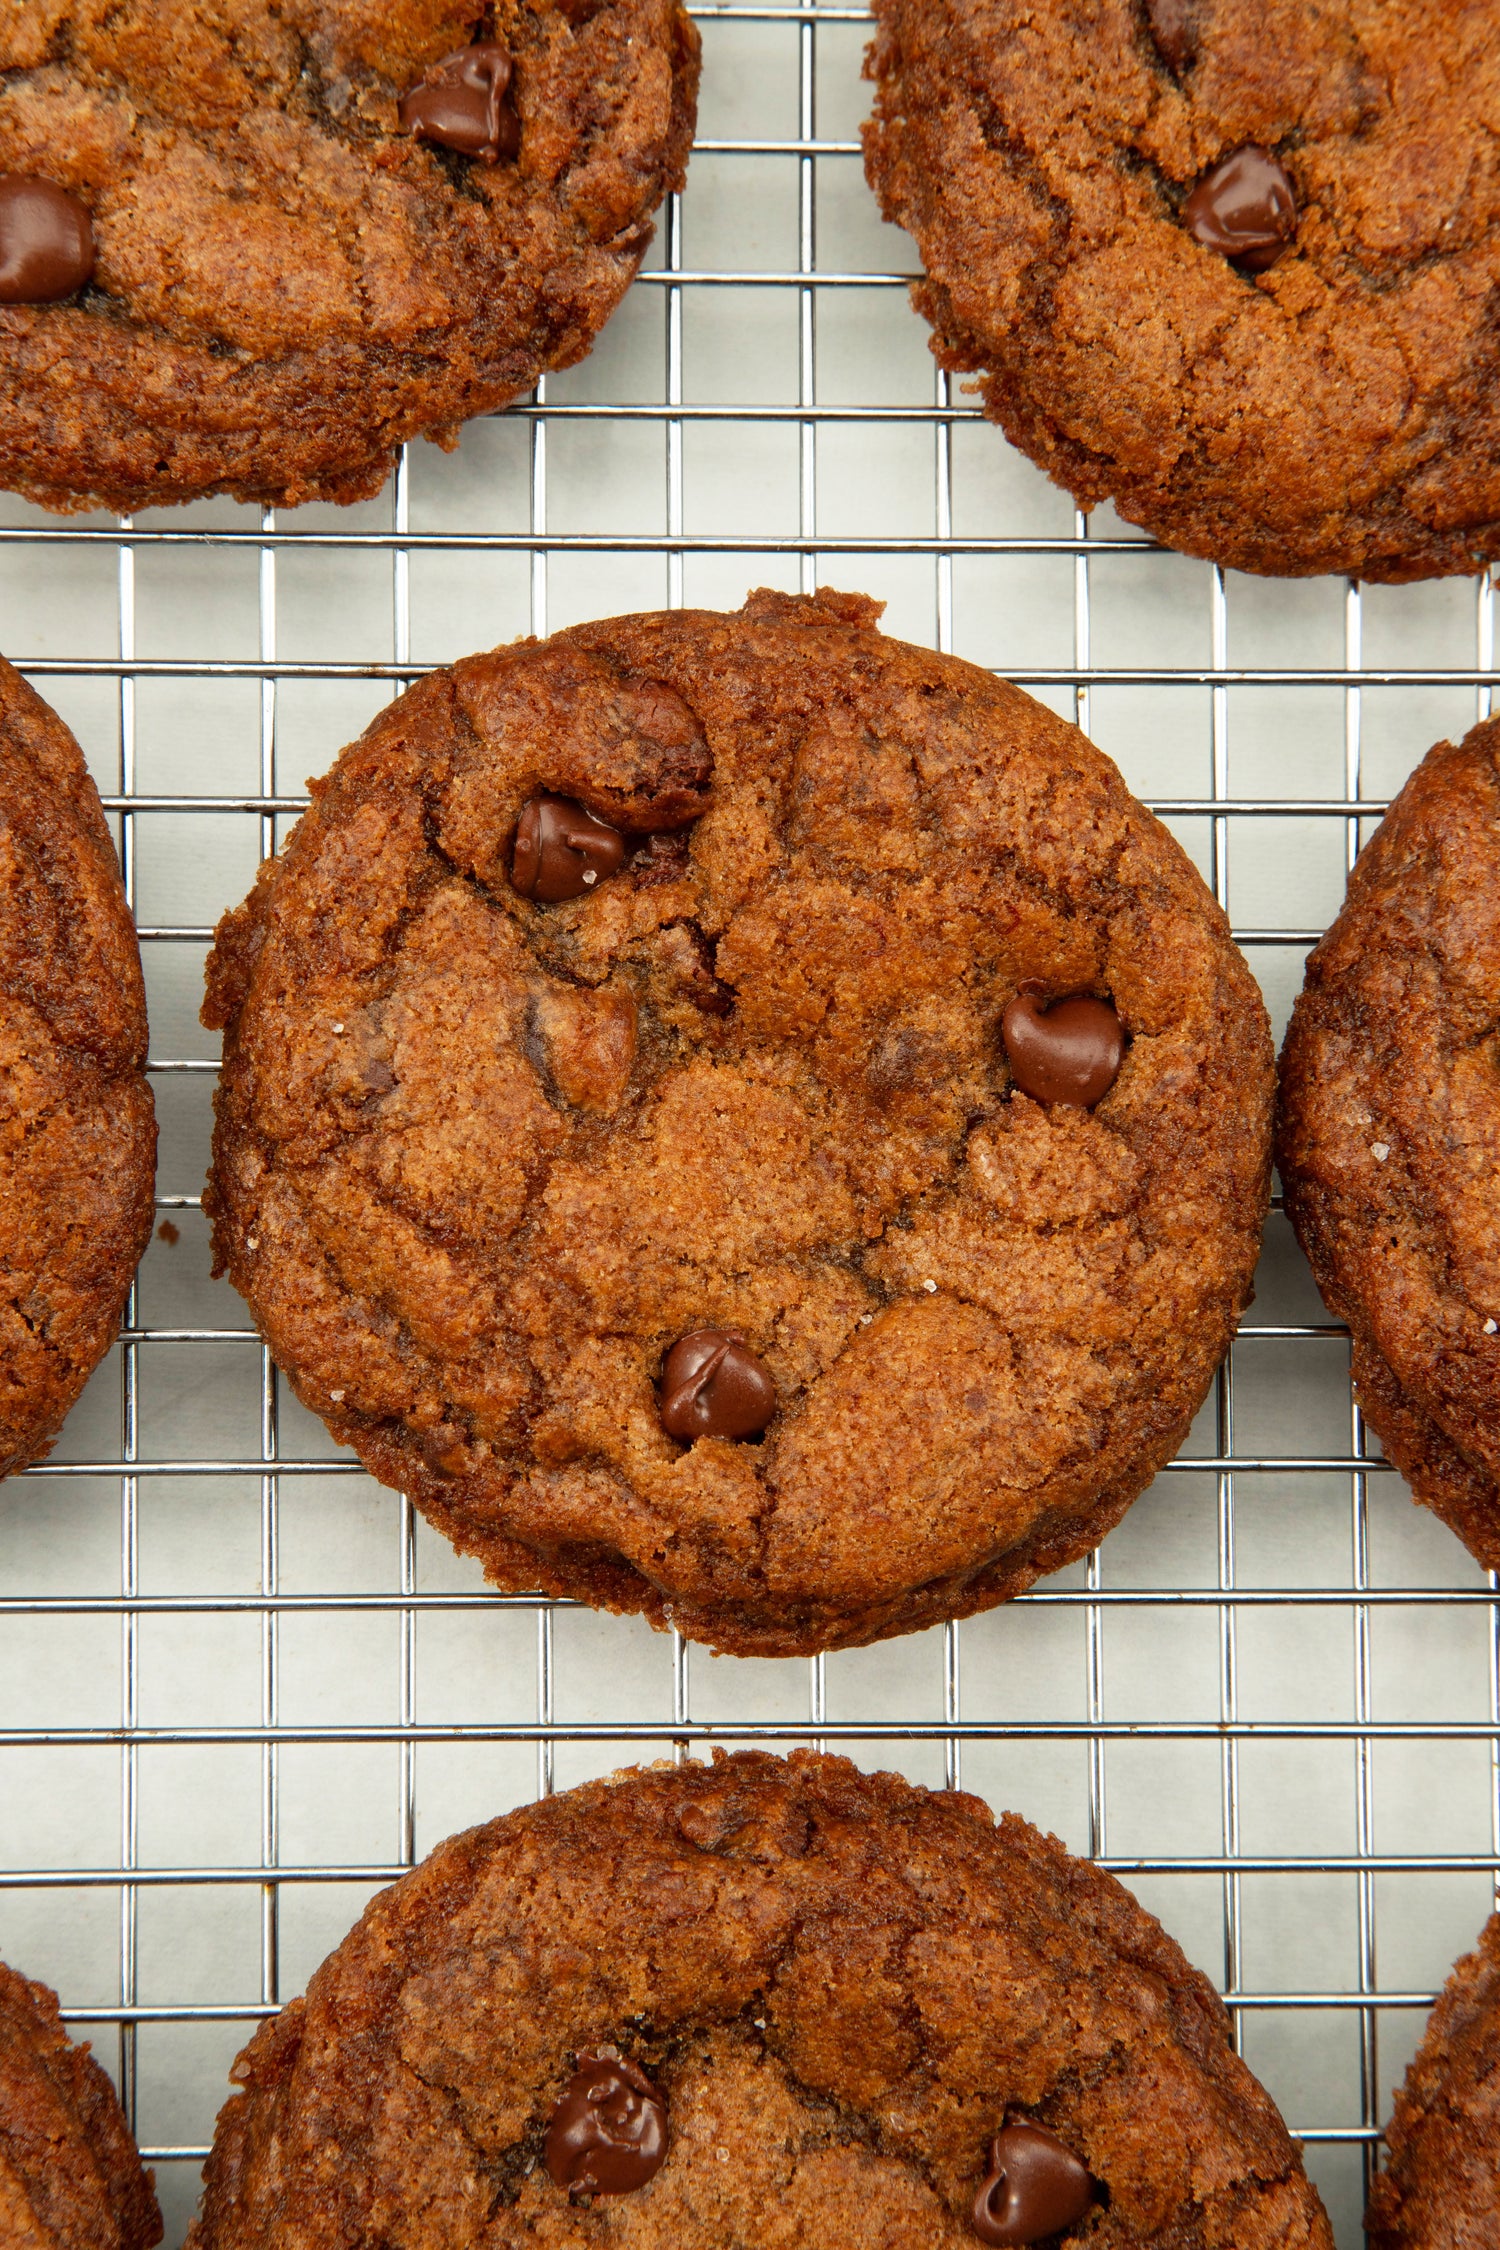
The OG Gourmet Messy Cookie
Ooey-Gooey Sea Salt Chocolate Chip
It's perfection in cookie form. Not to toot our own horn (what's that sound?), but we've spent years upon years perfecting this bad boy – and if you like your chocolate cookies with an ooey-gooey center, plus the perfect sprinkle of salt and a mysterious crunch on top, you're gonna enjoy this one.
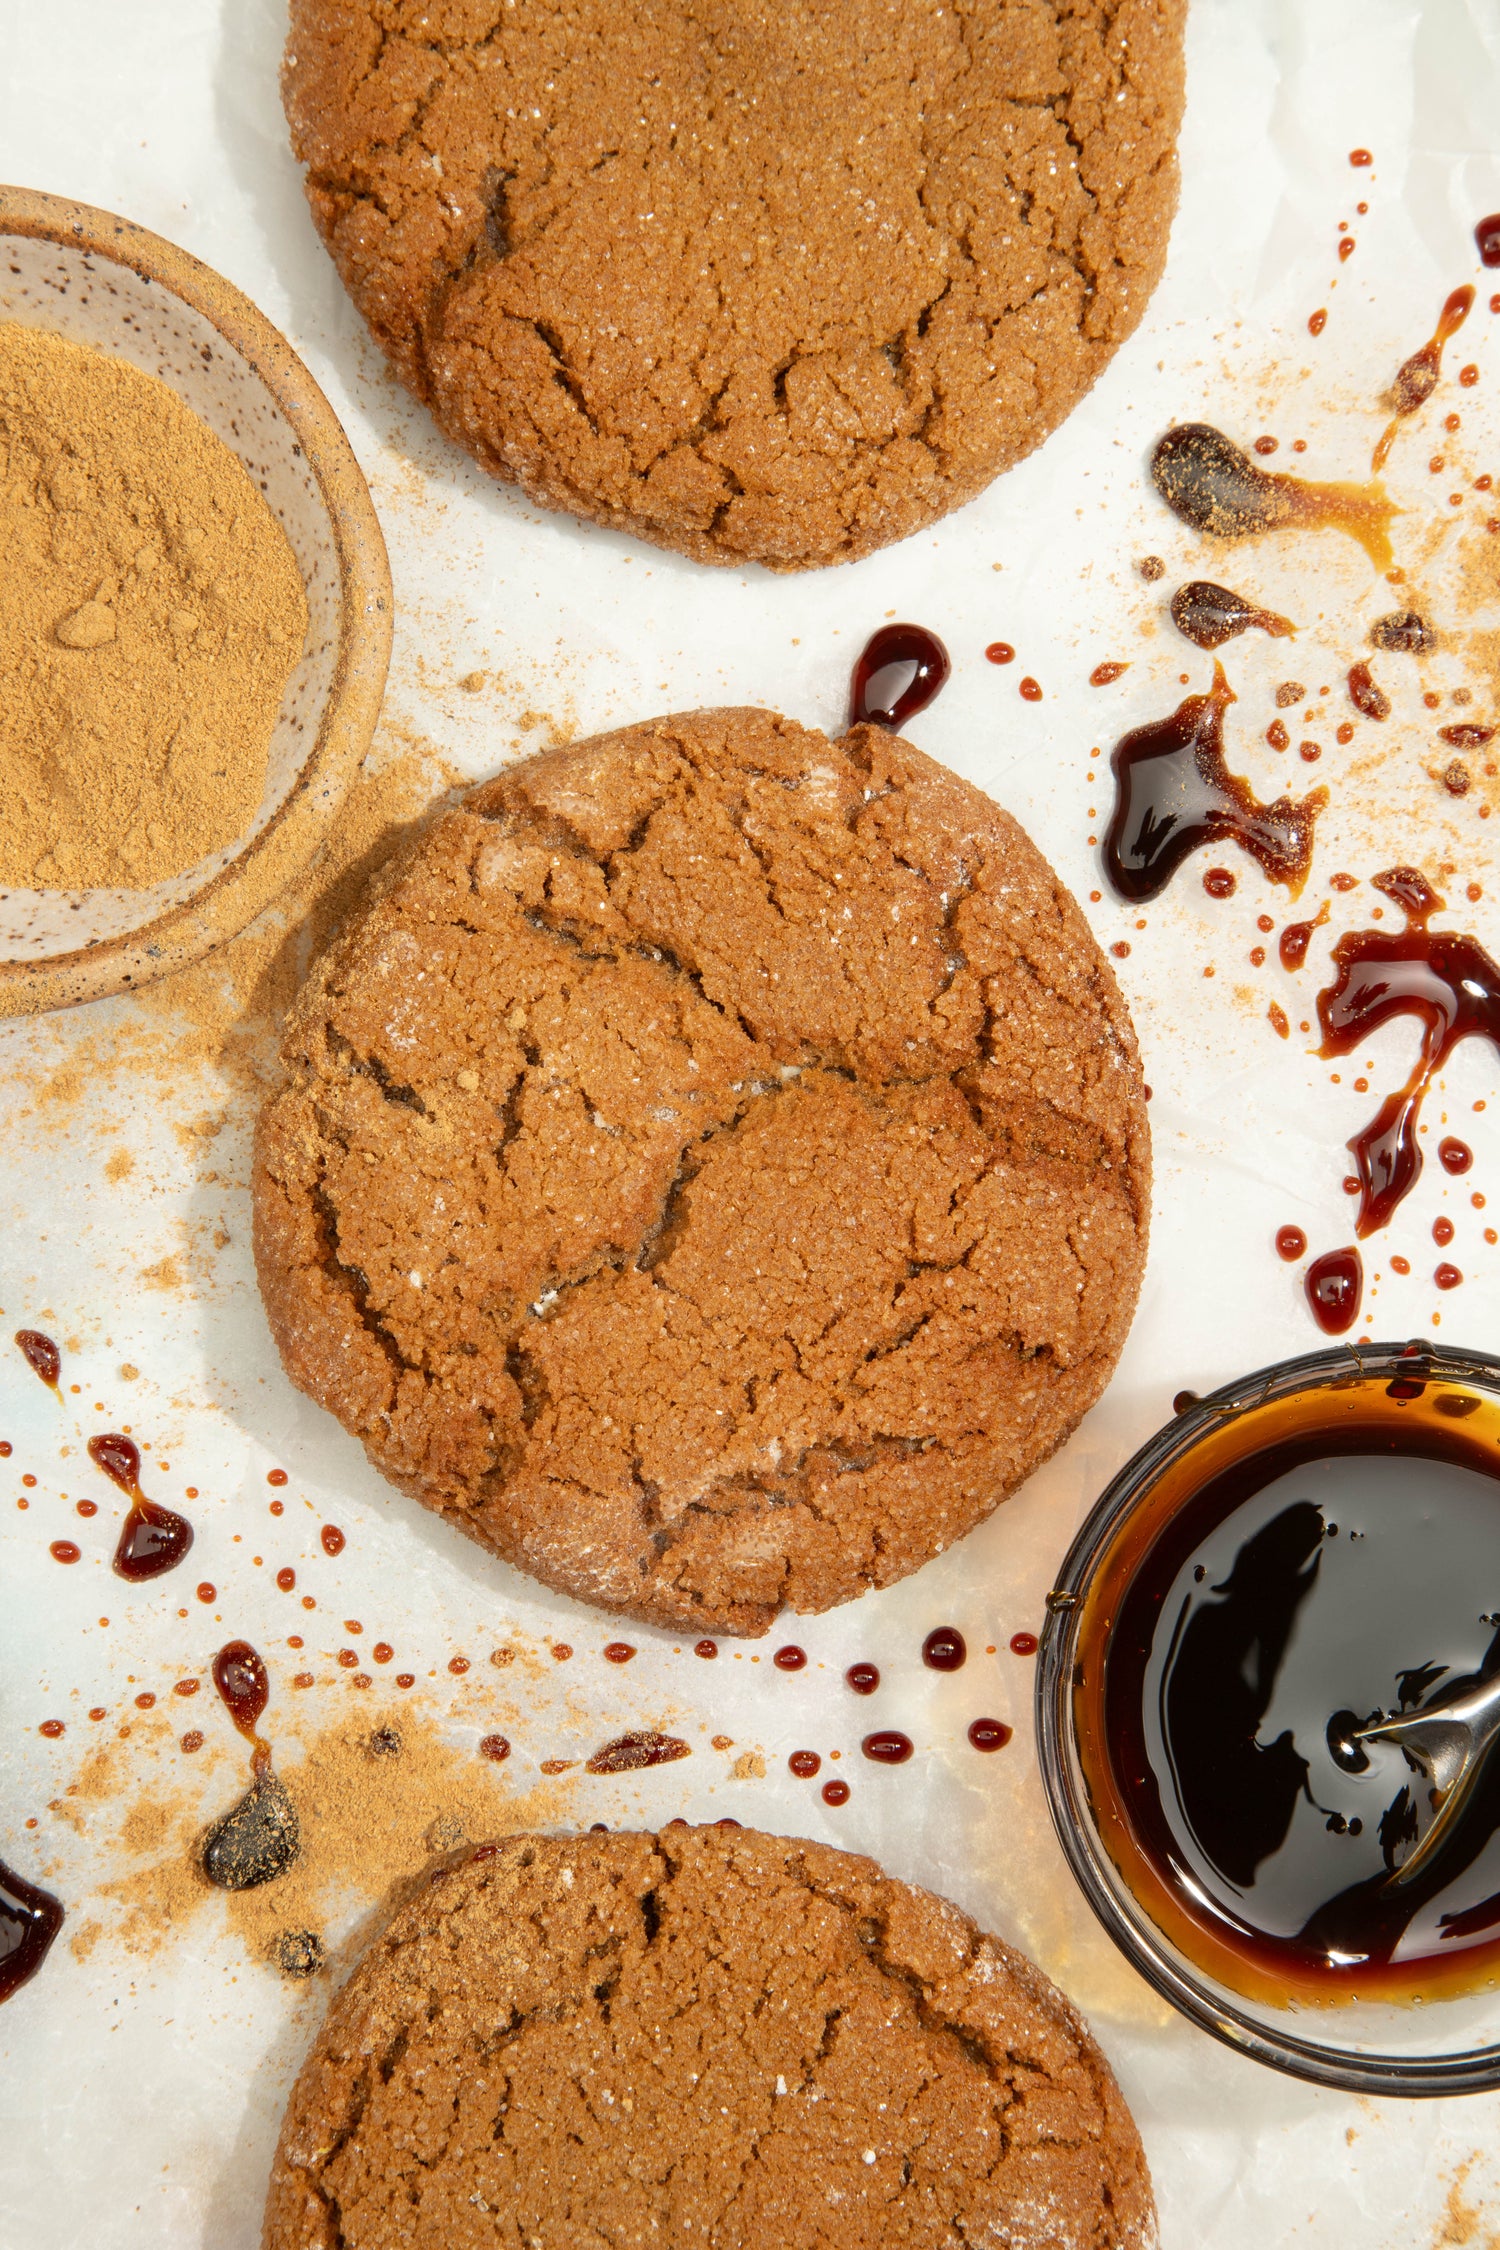
team molasses-isn't-a-holiday-cookie-so-we-have-it-year-round-of-course
The Molasses Monstah
It's warm. It's spicy. Yet it's just sweet enough that kids who "don't like anything with ginger" love it. We couldn't make that up if we tried! Add one to your next box and see why it's our owner's husband's favorite cookie on the menu.
If "cozy" were a flavor
Banana Bread Chocolate Chip
Simple. You like banana bread? Yes? Do chocolate chips make your lips curl into a smile? Double yes? This is your cookie. Trust us.
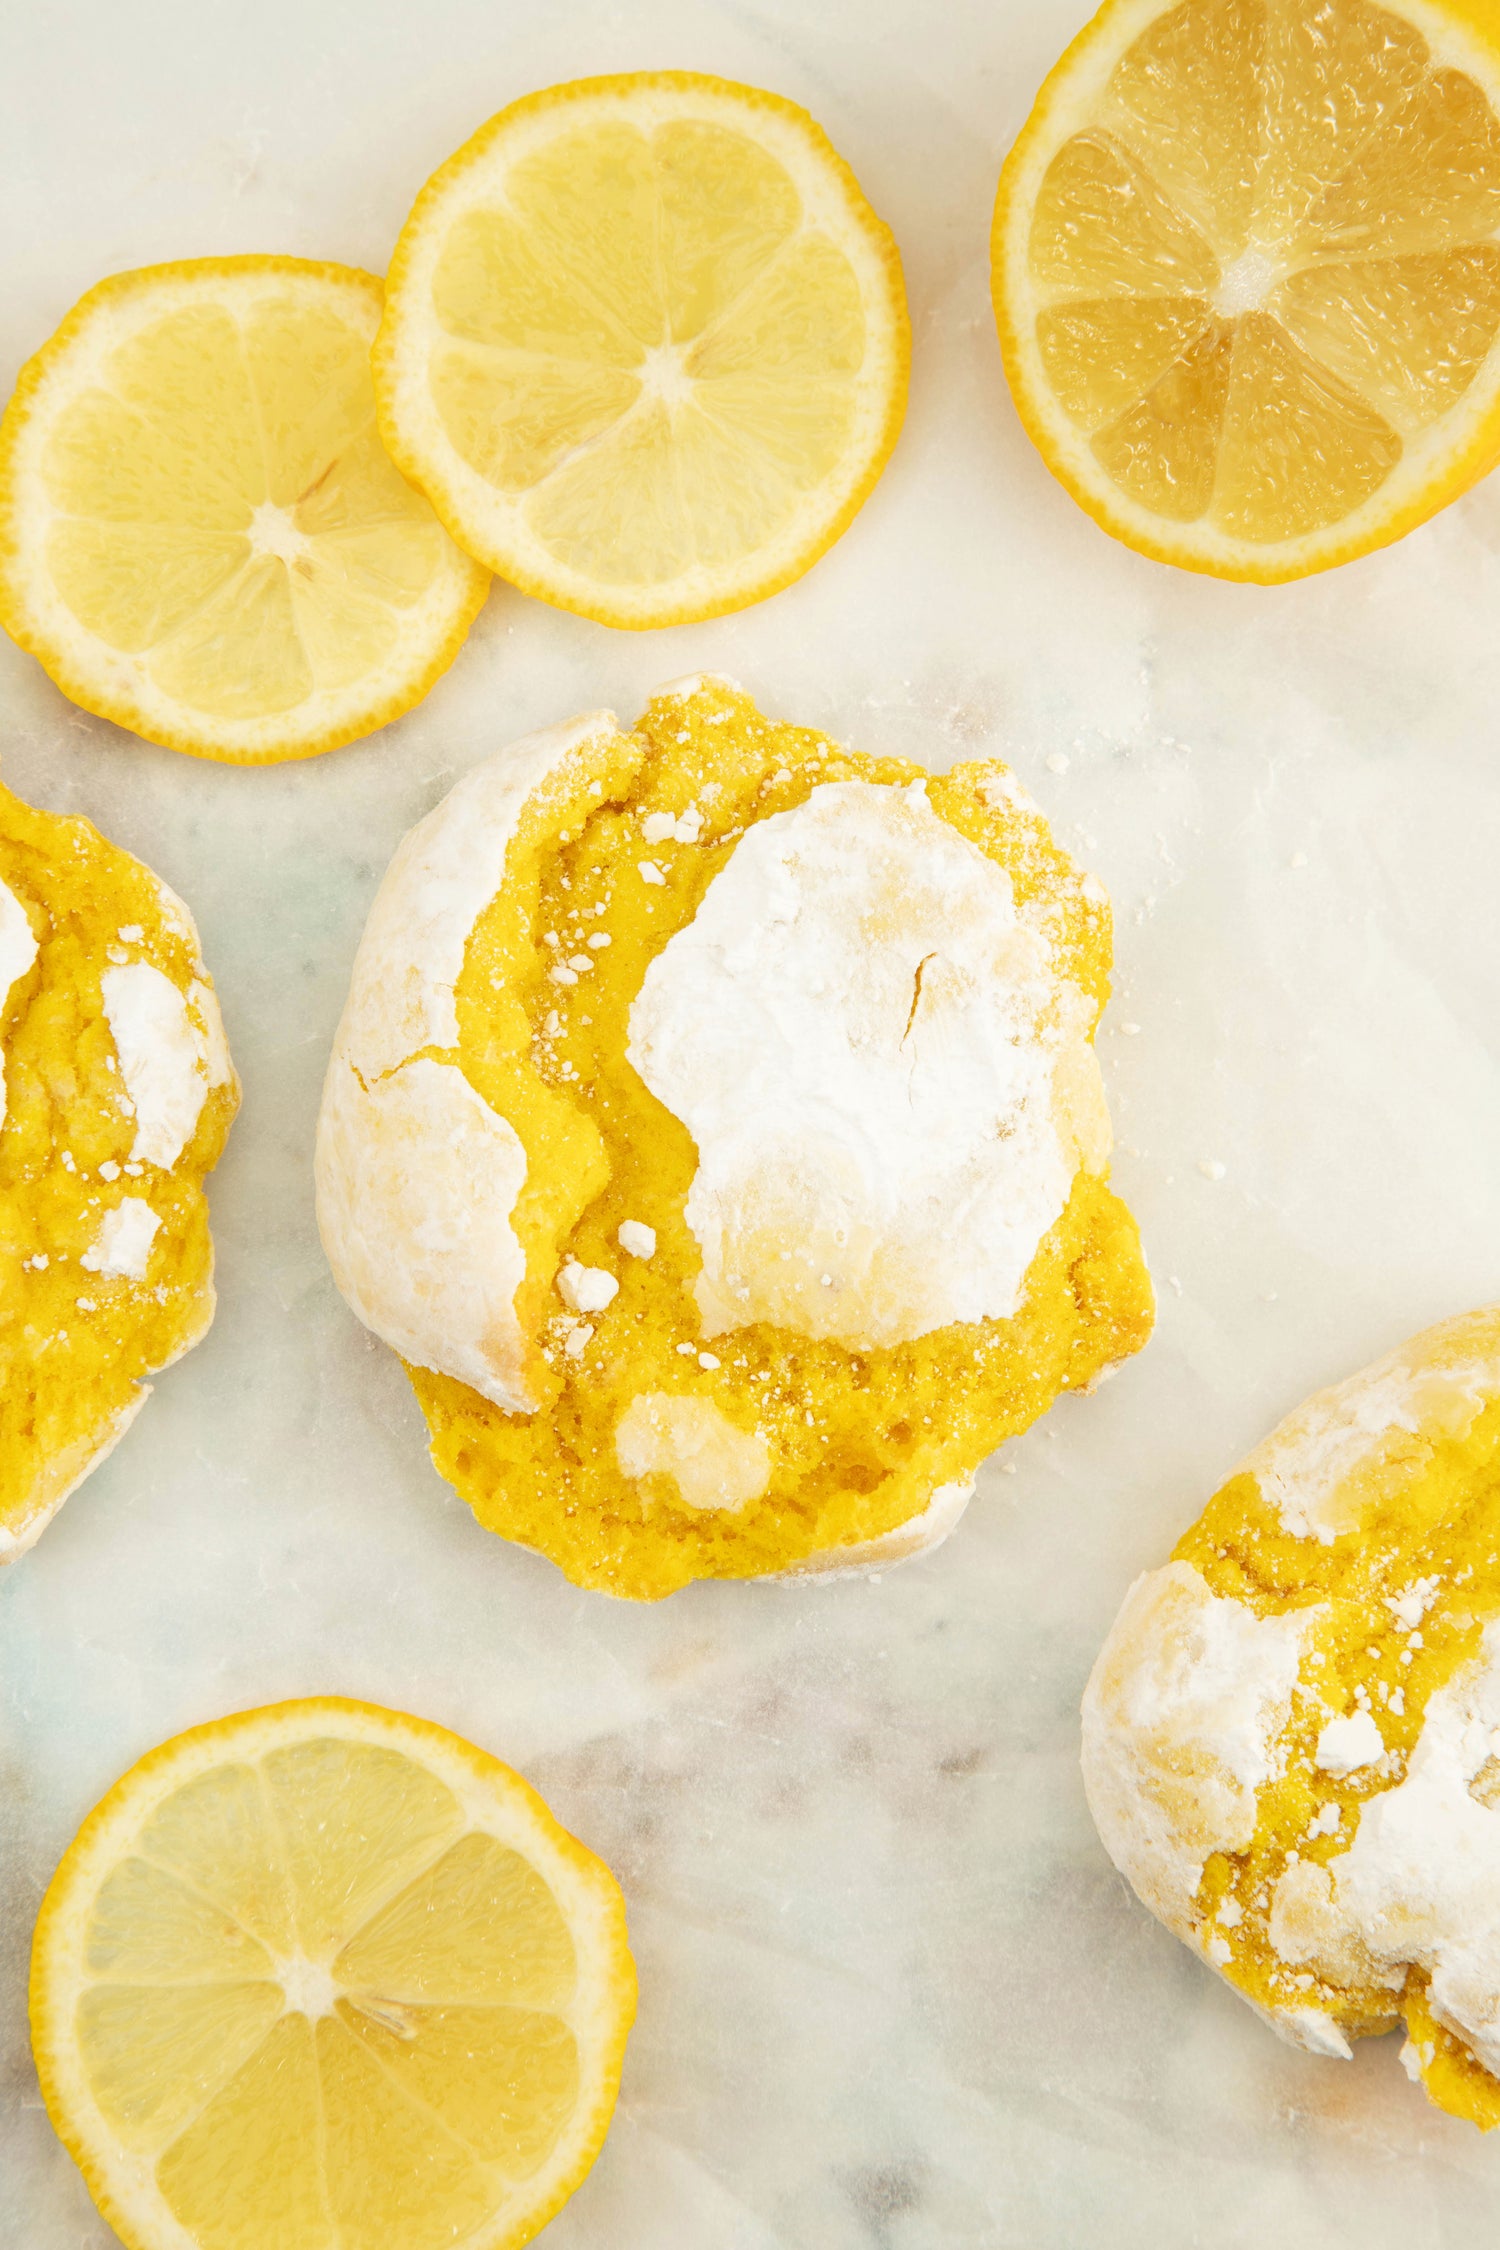
your new favorite lemon cookie
Ray of Sunshine Lemon Crinkle (vegan!)
This cookie is proof vegan cookies can be baddies too. That powdered sugar, just enough to make you wonder if it dusted your chin, plus a balanced sweet-yet-not-too-sweet inside that seems almost like a lemon bar in cookie form; it's here to make you smile. Let it!
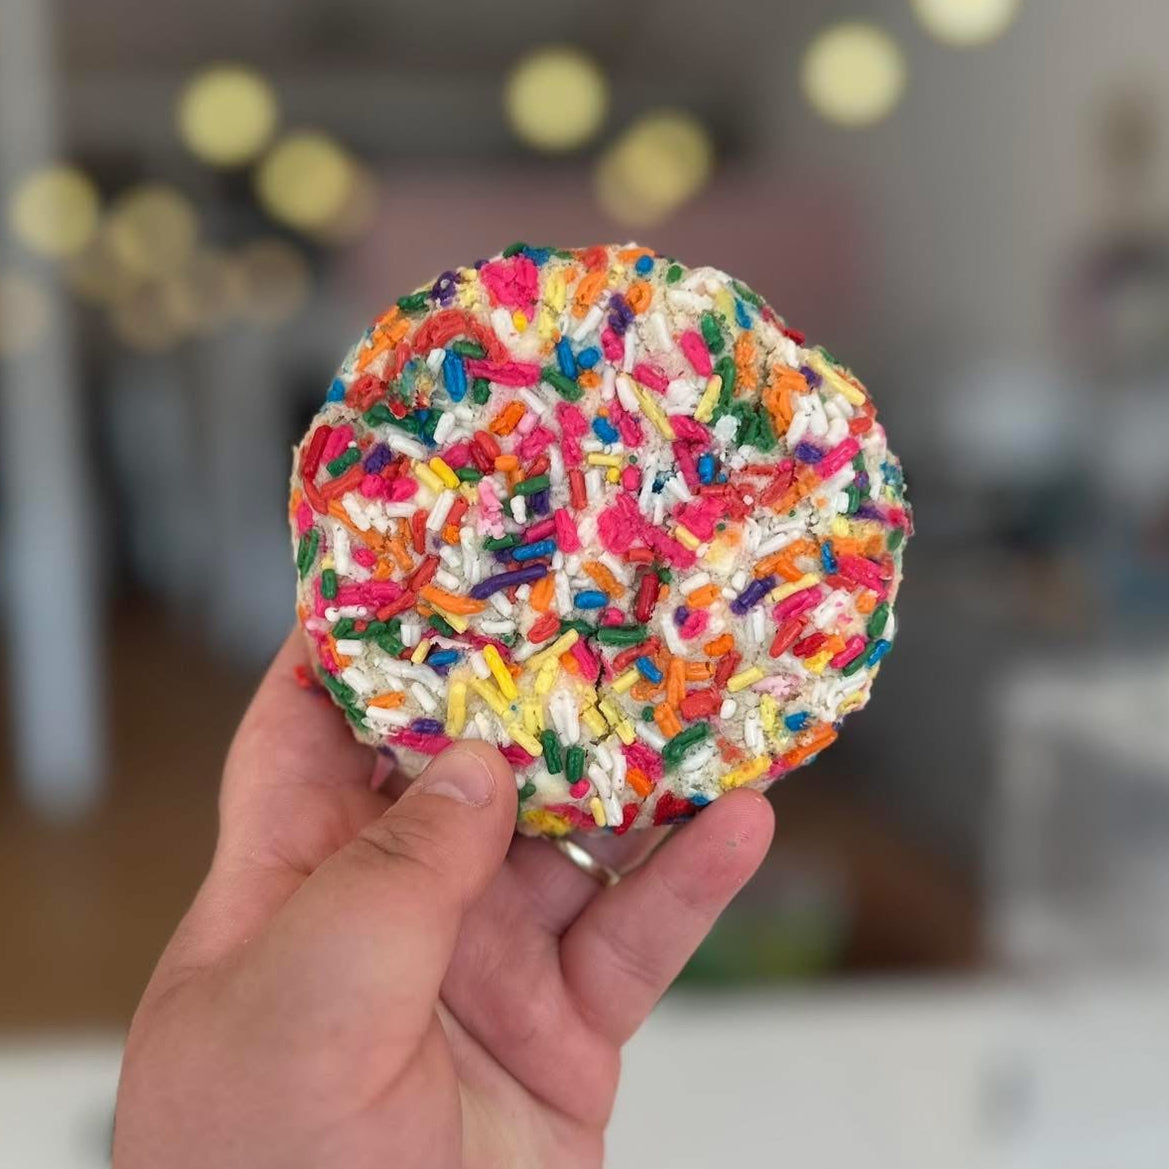
SHE WAS THE LIFE OF OUR FIRST BIRTHDAY PARTY AND WE JUST COULDN’T LET HER GO
The Birthday Girl
Chock full of rainbow sprinkles, white chocolate chips and big smiles, she's 20 grams larger than any other cookie on our menu and gluten-friendly! (That means she's made with a gluten-free flour but we can't guarantee zero cross contamination.)